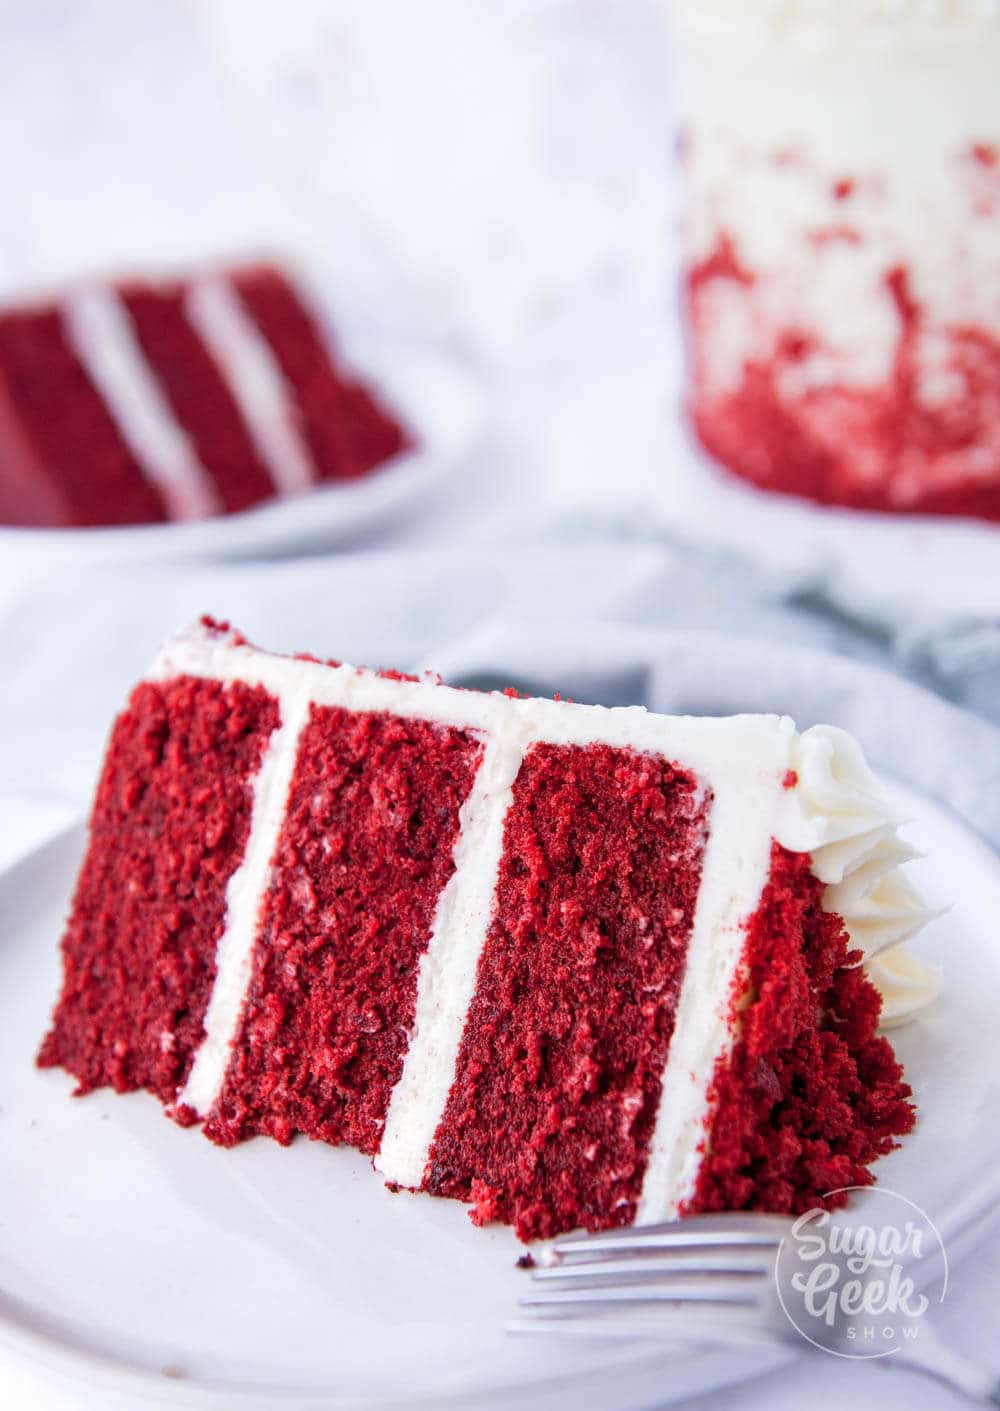
Real red velvet cake is not chocolate cake with food coloring
Dapatkan link
Facebook
X
Pinterest
Email
Aplikasi Lainnya
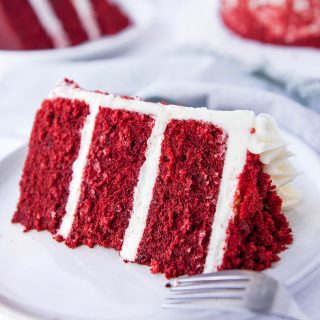
This red velvet cake recipe is what a REAL red velvet cake should taste like! Topped with cream cheese frosting, I finally figured out why people LOVE a real red velvet cake. This cake is buttery, soft and truly lives up to it’s velvet description. This cake also pairs really well with Ermine frosting or my easy buttercream frosting.
This recipe is updated from a previous recipe that I used and is a million times better! That’s the thing with baking, you are always learning and improving. I wanted a red velvet cake recipe that was super classic and wasn’t just vanilla cake with food color added (yuck). I tested this recipe out on a client who’s favorite cake flavor was red velvet and she said it was the best she’s ever had so I think that is a win.
Is red velvet cake just a chocolate cake recipe with red food coloring added?
Red velvet cake isn’t just a chocolate cake with red food coloring added. In fact, the original red velvet cake got its name because the buttermilk and the vinegar naturally bring out the red undertones in the cocoa powder, giving the cake a red tint. Buttermilk and vinegar also break down the gluten in flour resulting in a more tender cake which is probably why it got the nickname red velvet. Of course over the years a little red food coloring was added to intensify the color to what we see today, which is why people can get confused about what the flavor of a true red velvet cake recipe is supposed to be. Some inexperienced bakers may even just add red food coloring to a vanilla cake. Red food coloring actually tastes really bitter so if you’ve ever had an overly colored red velvet cake recipe, it probably tasted really bad.
What does a real red velvet cake recipe taste like?
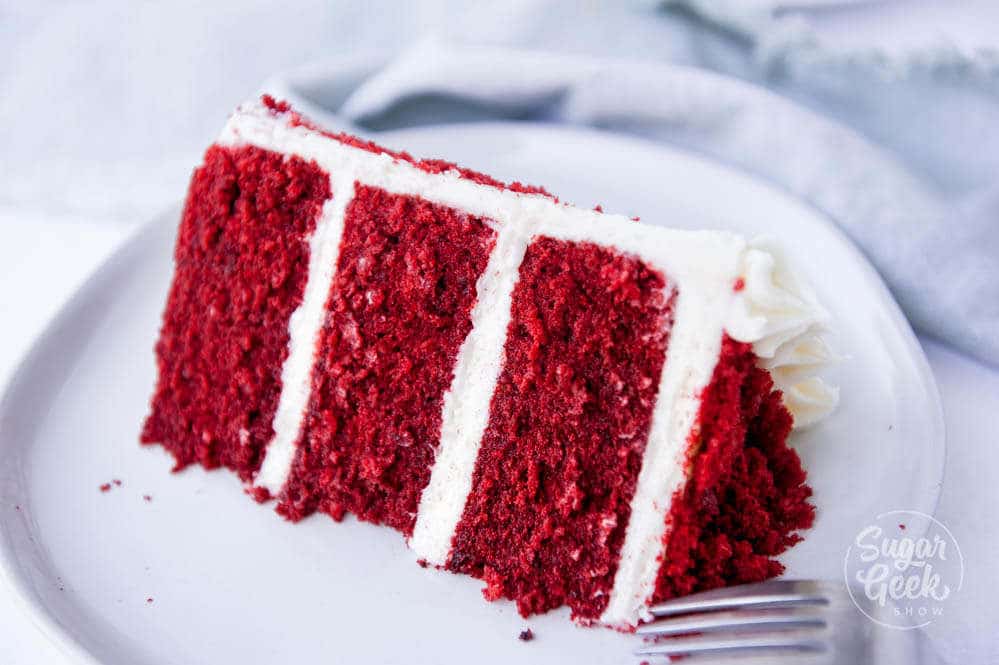
A real red velvet cake recipe is made with buttermilk, vinegar and a tiny bit of cocoa powder. These ingredients result in a very tangy cake with a hint of chocolate. This is a pretty unique flavor combination but when you add in some cream cheese frosting or ermine frosting (the classic frosting for red velvet cake), then it adds even more tangy flavor. That tangy flavor is the sign of a true red velvet cake recipe.
Why is red velvet cake such a popular flavor?
I personally think that red velvet cake is popular due to two factors. Some people have had a TRUE red velvet cake recipe and love it! I don’t blame them, it really is delicious. The other factor is that it’s a very controversial cake flavor. If you haven’t had a really good red velvet cake and you associate the cake with just a bland red cake then you won’t see what the big deal is. Whenever there is a controversy between is something good or not, it always becomes more popular. There is a saying in art, if it’s good then people will either love it or hate it. If everyone just feels “ok” about it, then it’s just meh. Same with cake, people seem to either love or hate red velvet cake.
Easy red velvet cake recipe
Ok this is the really the only cake recipe I make that’s a one bowl method. Typically I prefer a more precise mixing method like the reverse creaming method. This red velvet cake recipe is soooo super easy!
Just combine the flour, sugar, cocoa powder, salt and baking soda in a bowl.
Whisk together the eggs, vegetable oil, buttermilk, melted butter, vinegar, vanilla and coloring in a separate bowl.
Slowly add in the wet ingredients to the dry and mix for one minute. You can do this by hand or in a stand mixer with the paddle attachment.
Pour batter into two 8″ round cake pans and bake!
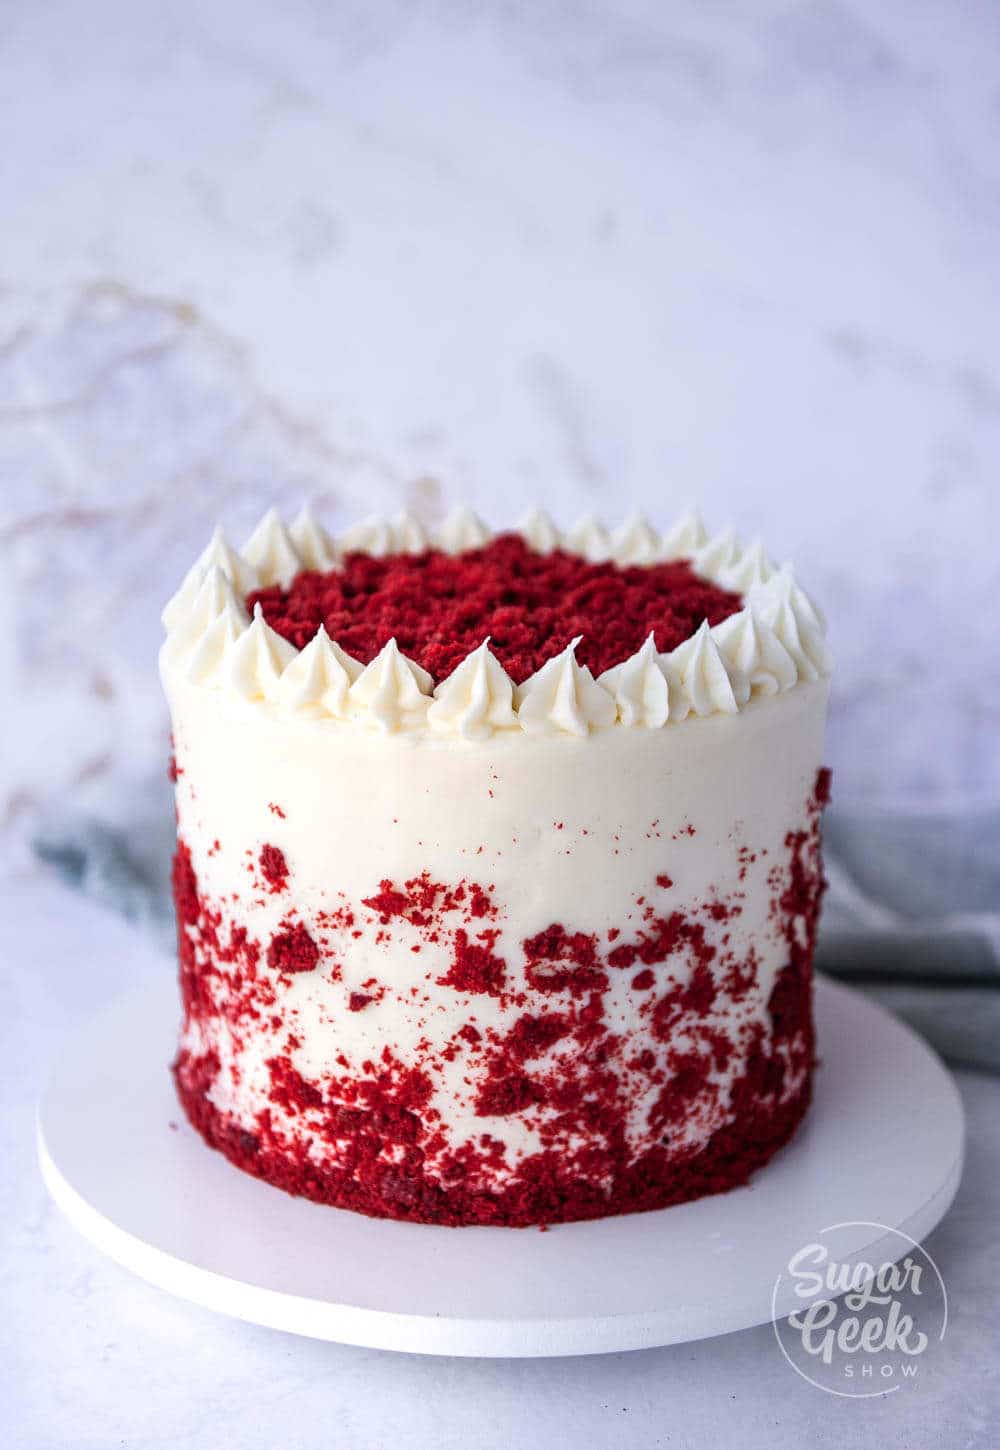
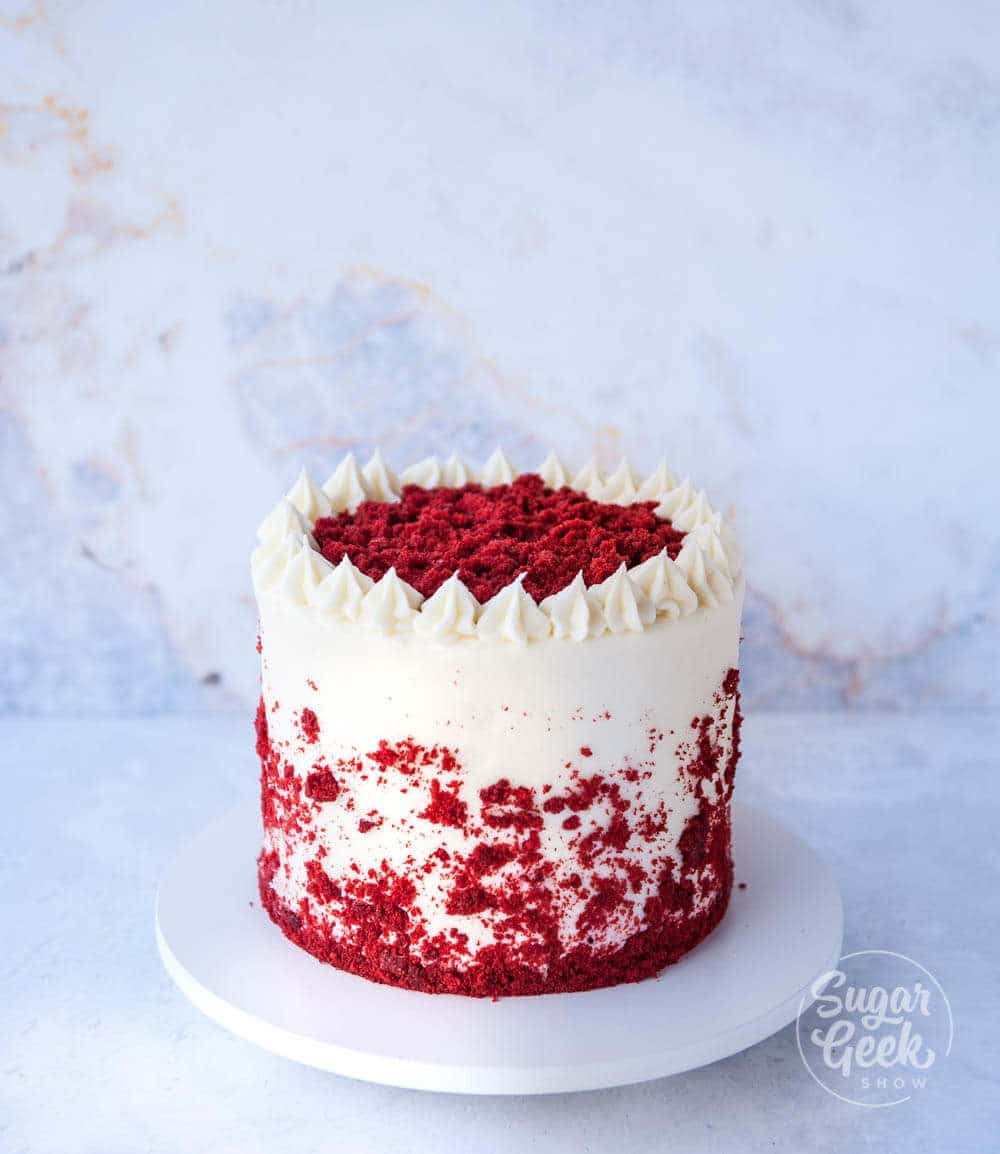
I like to frost and fill my cake with cream cheese frosting and then use some of the cake trimmings (from removing the dome) to make a pretty cake crumb coating on the outside. Garnish with a little white chocolate and boom! That’s one pretty red velvet cake.
How to make a red velvet layer cake with cream cheese frosting
After my cakes baked and I let them cool, trim off the domes of your cakes to make them flat. Place your first layer on a cake board or large flat plate.
Add a big scoop of your cream cheese frosting and spread it onto your cake layer using an offset spatula. I make my frosting about 1/4″ thick. Then place another layer of cake on top. Repeat with the final layer.
Spread more of your frosting in a thin layer all over the cake. This is called the crumb coat and literally seals in all the crumbs so they don’t get into your final coat of frosting. Freeze cake for 20 minutes to harden the crumb coat.
Add another layer of buttercream to your chilled cake and smooth with a bench scraper or off-set spatula. A turntable helps a lot with this process.
Next, crumble up your cake domes and add them to the top of your cake and sides as decoration.
Finish your cake with some small dollops of buttercream around the outside edge! All done!
Frequently asked questions about this red velvet cake recipe
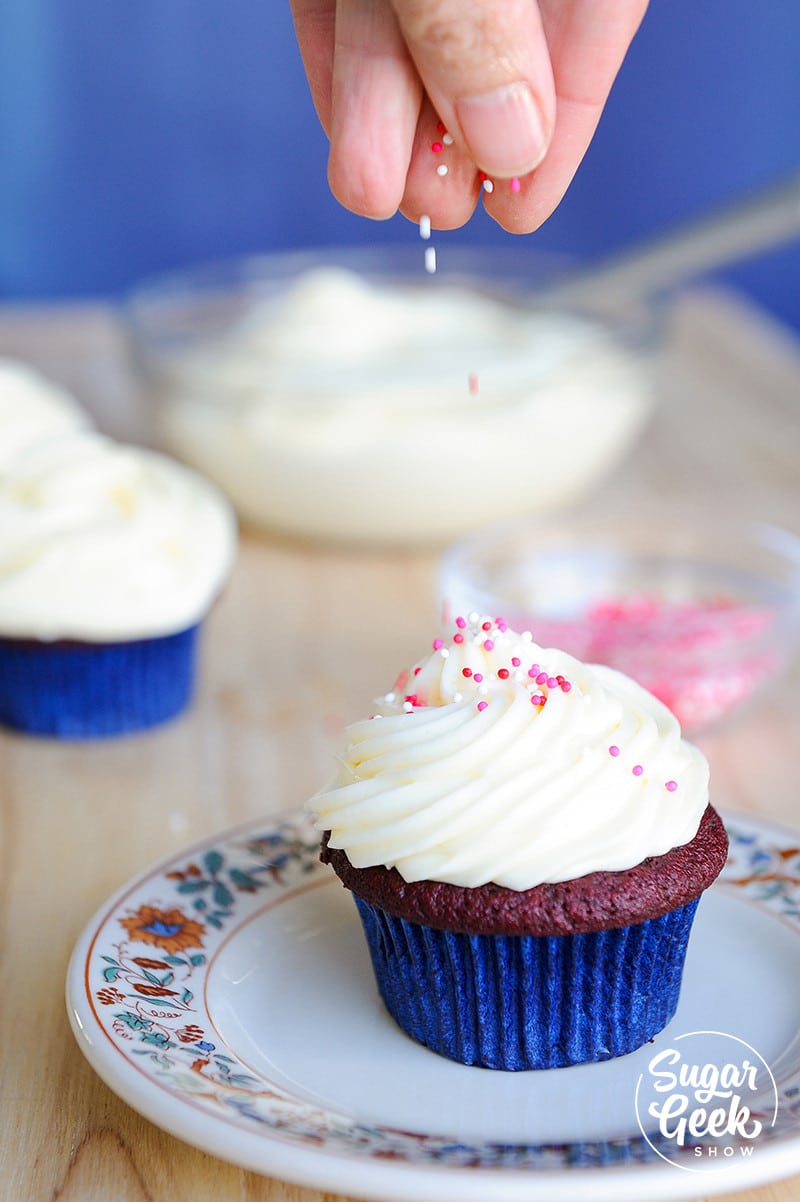
Can this recipe be made into cupcakes? – Yes you can definitely use this recipe for cupcakes. I have made them many times and they turn out really well. Bake for 5 minutes on 400ºF then reduce to 350ºF for 10-15 minutes or until the cupcakes are set in the center. Do not fill cupcake liners more than 2/3 of the way full or they will overflow and collapse. What can I use if I don’t have buttermilk? – You can use an equal amount (by weight) of sour cream or you can add 1 Tbsp of vinegar into regular milk and let it sit a few minutes until it starts to curdle to make homemade buttermilk. Can I leave out the red food coloring? Yes you can but the cake will not be very red on the inside.
Did You Make This Recipe?Leave a rating and tell me how it went!
Red Velvet Cake Recipe
Amazing real red velvet cake recipe. One bowl, one spatula, one amazing cake! This recipe makes two 8" round cakes that are 2" tall. The cake is very light and delicate and very moist. Goes great with cream cheese frosting or ermine buttercream!
Ingredients
Red Velvet Cake Ingredients
14ounces(397g)AP flour
14ounces(397g)Granulated Sugar
2Tablespoons(2Tbsp)cocoa powder
1teaspoon(1tsp)salt
1teaspoon(1tsp)baking soda
2large(2 )eggsroom temp
4ounces(114g)vegetable oil
8ounces(227g)buttermilkroom temp
1 Tablespoons(1 Tbsp)white vinegar
6ounces(170g)unsalted buttermelted but not hot
1teaspoons(1tsp)vanilla
1Tablespoon(1Tbsp)super red food coloringI prefer americolor super red because it doesn't have a taste
Cream Cheese Frosting Ingredients
12ounces(340g)cream cheesesoftened
8ounces(227g)unsalted buttersoftened
1/2teaspoon(1/2tsp)orange extract
1/4teaspoon(1/4tsp)salt
26ounces(737g)powdered sugarsifted
Equipment
Stand Mixer
Paddle Attachment
Whisk Attachment
Instructions
Red Velvet Cake Instructions
Preheat oven to 350F and prepare two 8" cake pans or three 6" cake pans with cake goop or preferred pan spray. Make sure your cold ingredients are all room temperature. See notes at the bottom of the recipe for details.
Lightly whisk together your room temperature eggs, oil, buttermilk, vinegar, melted butter, vanilla and food coloring and set aside.
Combine flour, sugar, baking soda, cocoa powder and salt into the bowl of your stand mixer
Add your egg mixture into your flour mixture and mix on medium speed for about a minute until combined
Divide batter into cake pans and bake for about 35-40 minutes or until a toothpick comes out cleanly. Pairs perfectly with our cream cheese buttercream.
Cream Cheese Frosting Instructions
Place softened butter in the bowl of your stand mixer with the whisk attachment and cream on low until smooth and has no lumps.
Place softened cream cheese in the bowl with butter in small chunks and cream on low until smooth and combined
Add in sifted powdered sugar one cup at a time until combined, mixing on low
Add your orange extract and salt
Frost your cooled cake as desired and serve at room temperature. Cream cheese frosting should be refrigerated until a few hours (2-3) before the cake is served.
Notes
Important Things To Note Before You Start 1. Bring all your ingredients to room temperature or even a little warm (eggs, buttermilk, butter, etc) to ensure your batter does not break or curdle. 2. Use a scale to weigh your ingredients (including liquids) unless otherwise instructed (Tablespoons, teaspoons, pinch etc). Metric measurements are available in the recipe card. Scaled ingredients are much more accurate than using cups and help ensure the success of your recipe. 3. Practice Mise en Place (everything in it's place). Measure out your ingredients ahead of time and have them ready before you start mixing to reduce the chances of accidentally leaving something out. 4. Chill your cakes before frosting and filling. You can cover a frosted and chilled cake in fondant if you wish. This cake is also great for stacking. I always keep my cakes chilled in the refrigerator before delivery for easy transporting.
This cake is the ULTIMATE cookie dough lovers dessert. This cookie dough cake has a sweet and buttery vanilla chocolate chip cake with globs of cookie dough baked into each layer. These 3 layers are stacked and smothered in cookie dough buttercream then doused in silky chocolate ganache. If you have a major sweet tooth, this cake is for you! The Ultimate Cookie Dough Cake This cake is not for the faint of heart. It’s rich, sweet, and comprised of a super rich and buttery cake AND globs of cookie dough. But with that being said, it’s the perfect cake to bake for special occasions because it is an absolute show stopper. No one expects cookie dough AND cake to be in a single bite. There are 4 major parts to this cake that help make it the BEST cookie dough cake: Part 1: Cookie dough globs – Making the cookie dough is the first step in this recipe because it’s pressed into the cake layers and used as decoration on top of the cake, therefore it needs to chill before adding it to the cake. ...
This Mexican Street Corn Pasta Salad recipe is perfect for summer entertaining with friends and family. Tossed in a flavorful chili lime dressing , this pasta salad recipe holds up well to hot summer days and nights. But it can be made any time of year with the help of three different types of corn (frozen, fresh, or canned) and a number of variations! It is hot here in Vermont! I mean, super hot. Some days, I just can’t even think about taking a stroll outside. But all this warm weather sure makes me crave the flavors of summer. And the one ingredient that makes me think of all things summertime – corn. Sweet, golden yellow, juicy corn. It’s beautiful this time of year and I just can’t get enough. Which is why my challenge was to come up with more and more recipes featuring this superb vegetable. So I took some inspiration from my three delicious corn recipes – Mexican Corn On The Cob , Mexican Street Corn Salad with Avocado , and Corn Salad with Black Beans . But I wanted more ...


Komentar
Posting Komentar